
How to Paint Fire: Tips, Tricks, and Tools – Latest 2024
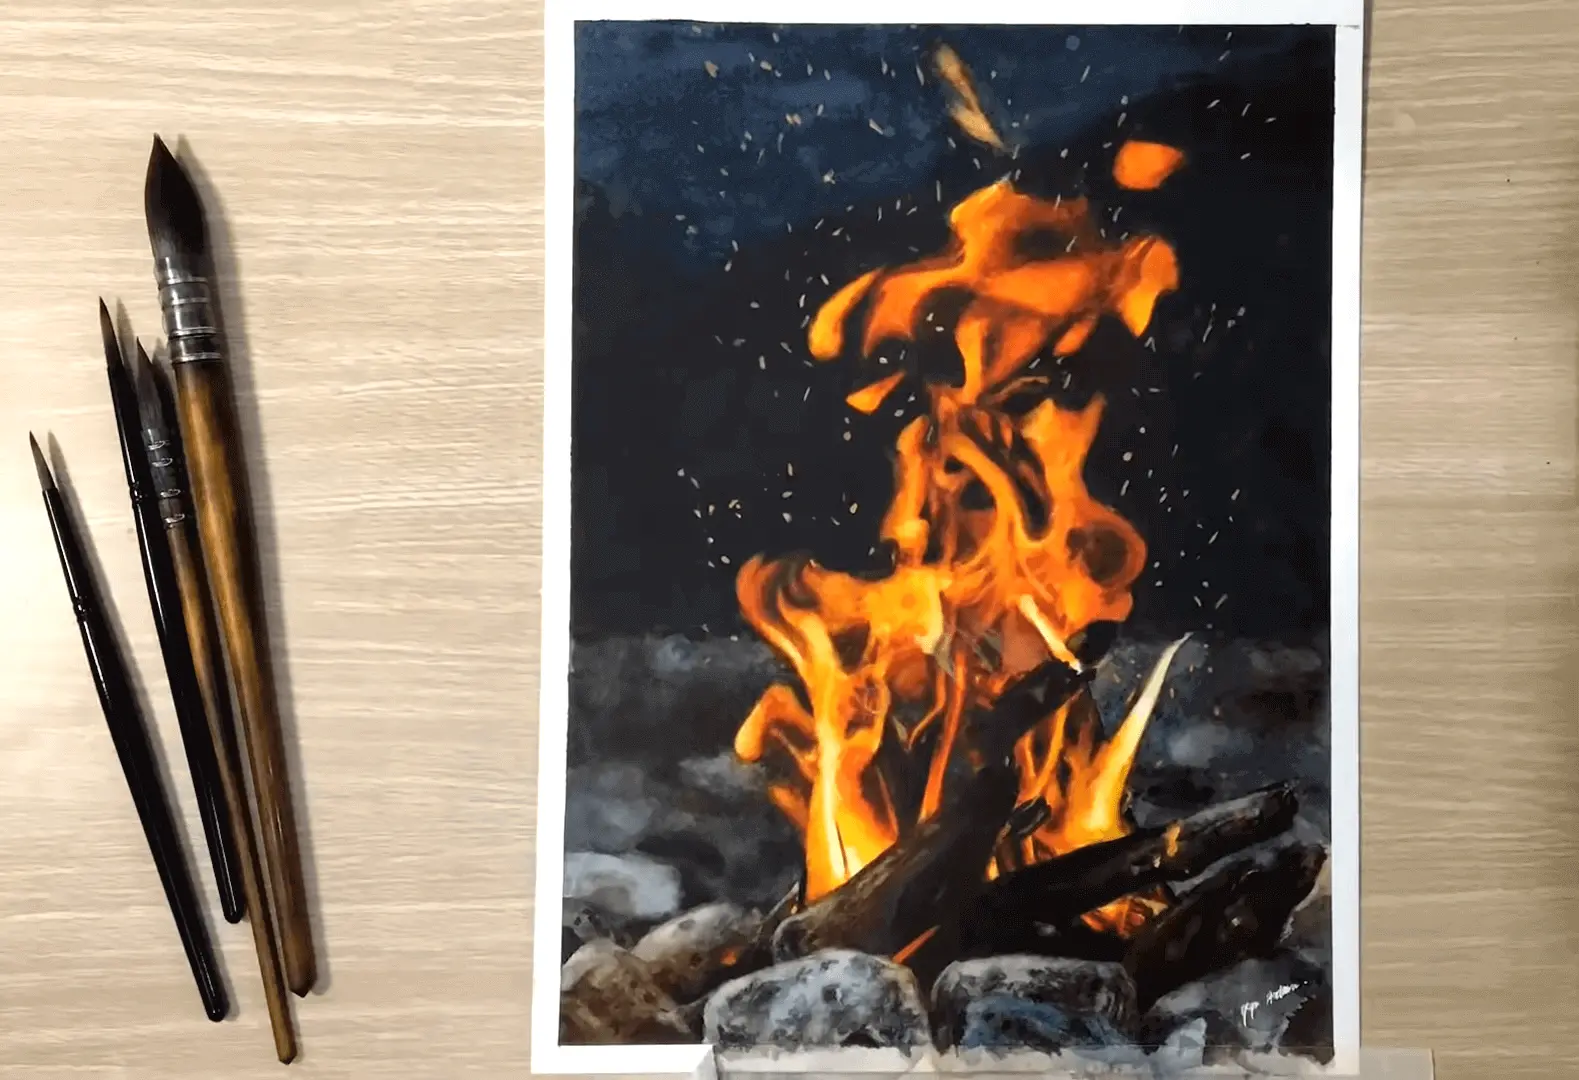
Fire is an element that has captivated artists for centuries. It’s a symbol of passion, destruction, and transformation. When it comes to creating artwork that captures the essence of a dynamic and powerful force like fire, painting can be a challenging but rewarding task for artists. To master this skill, it’s essential to understand the basics of fire, choose the right colors, and have the necessary tools to create a realistic and vibrant painting.
Whether you’re a beginner or an experienced artist, learning How to Paint Fire can be a valuable addition to your artistic skill set. In this article, I’ll explore some tips, tricks, and tools for painting fire, with a focus on understanding the basics of fire and creating a flicker effect that adds depth and texture to your artwork.

The Basics of Painting Fire
Fire is a unique and fascinating phenomenon that has fascinated humans for centuries. From its destructive power to its mesmerizing beauty, fire has been the subject of countless works of art throughout history. As an artist, understanding the basics of fire is essential to creating realistic and captivating fire effects in your paintings. In this article, I’ll explore the fundamental principles behind fire and how they can be translated into visual art.
1. What makes fire unique?
Fire is unique for several reasons. Firstly, fire requires three key components to exist: heat, oxygen, and fuel. These components come together to create a chemical reaction called combustion, which releases energy in the form of heat and light. Without any of these components, fire cannot exist.
Secondly, fire behaves differently from other types of matter. Unlike solids, liquids, and gases, fire is a plasma, which means it is made up of charged particles. This plasma takes on a unique shape and movement, which can be used to create a wide range of artistic effects.
Finally, fire is unique in the colors it produces. When different materials burn, they emit different colors of light. For example, a wood fire will produce a yellow-orange flame, while a gas fire will produce a blue flame. Understanding these colors and how they relate to temperature and material is key to creating realistic fire effects in your paintings.
2. How does fire behave?
Understanding how fire behaves is crucial to creating realistic and dynamic fire effects in your art. Fire behaves in several distinct ways:
Flames move and change shape. Fire takes on a unique shape and movement depending on the conditions under which it is burning. For example, a fire in a calm environment will burn straight up, while a fire in a windy environment will flicker and bend in the direction of the wind.
Fire emits heat. Fire produces heat, which can be felt from a distance. This heat can also cause other materials to ignite, which can create secondary fires and other interesting visual effects. Flames produce light. Flames produce a wide range of colors of light, depending on the material being burned and the temperature of the flame.
3. What colors are present in fire?
Understanding the colors present in fire is crucial to creating realistic and captivating fire effects in your paintings. Fire emits a wide range of colors of light, depending on the temperature of the flame and the material being burned. Some of the most common colors in fire include:
i. Red Colored Fire:
Red flames are typically cooler flames and are produced by the incomplete combustion of organic materials.

ii. Orange Colored Fire:
Orange flames are slightly hotter than red flames and are produced by the complete combustion of organic materials.
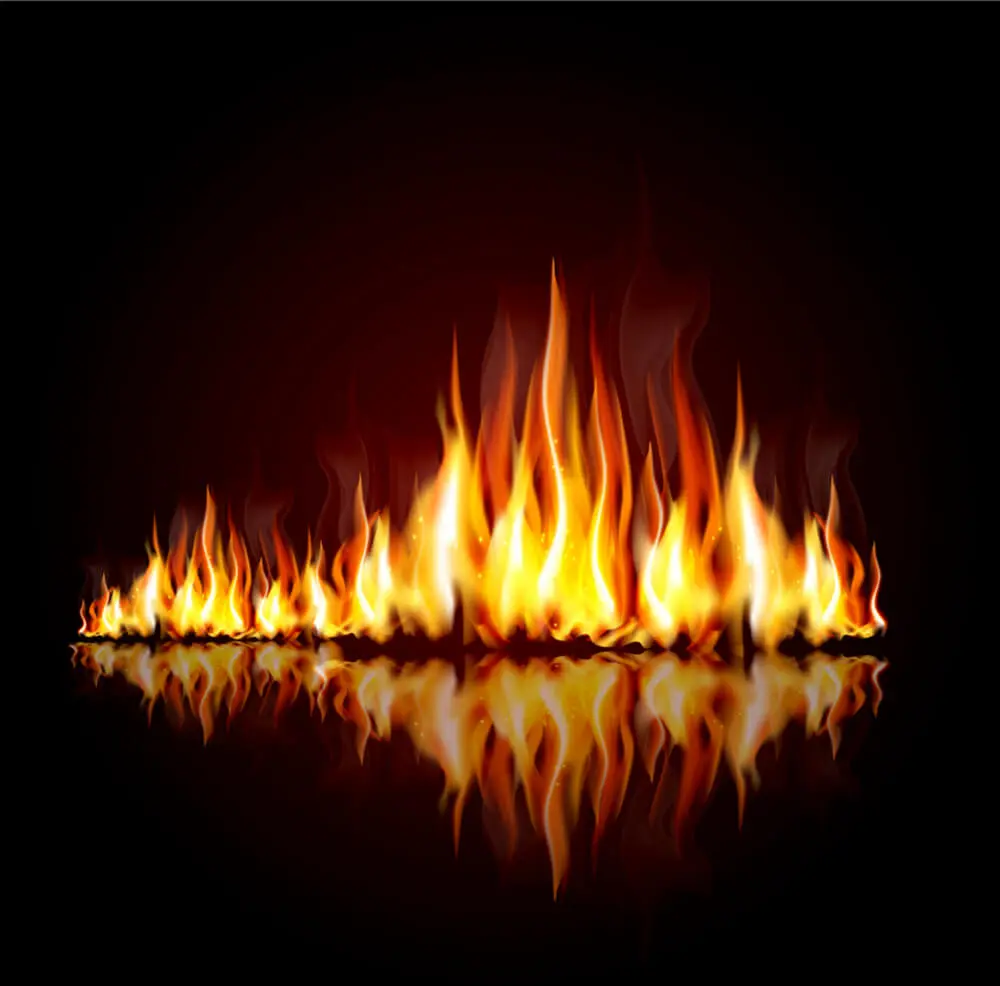
iii. Yellow Colored Fire:
Yellow flames are even hotter than orange flames and are produced by the complete combustion of organic materials.
iv. Blue Colored Fire:
Blue flames are the hottest of all and are produced by the combustion of gases such as methane and propane.
Understanding these colors and how they relate to temperature and material is key to creating realistic fire effects in your paintings.
Choosing the Right Colors
As an artist, choosing the right colors can make or break your work. In my experience, Colors can set the mood, convey emotions, and even tell a story. But with so many colors to choose from, how do you know which ones to use? In this article, I’ll explore some tips and techniques for choosing the right colors for your artwork.
Understand Color Theory
Before you start painting, it’s important to have a basic understanding of color theory. Color theory is the study of how colors interact with each other and how they can be combined to create different effects. It’s important to understand the basic color wheel and how colors can be categorized as warm or cool. Warm colors, such as reds, oranges, and yellows, tend to create a feeling of warmth and energy, while cool colors, such as blues, greens, and purples, create a feeling of calm and relaxation.
Consider Your Subject Matter
The subject matter of your artwork can also play a role in the colors you choose. For example, if you’re painting a landscape, you might choose colors that reflect the colors of nature, such as greens, blues, and browns. If you’re painting a portrait, you might choose colors that reflect the mood or personality of the subject, such as warm colors for a cheerful subject and cool colors for a more serious subject.
Experiment with Color Schemes
One way to choose the right colors for your artwork is to experiment with different color schemes. A color scheme is a set of colors that are used together in a work of art. Some common color schemes include complementary, analogous, and monochromatic. Complementary colors are colors that are opposite each other on the color wheel, such as red and green. Analogous colors are colors that are next to each other on the color wheel, such as blue and green. Monochromatic color schemes use only one color, but different shades and tints of that color.
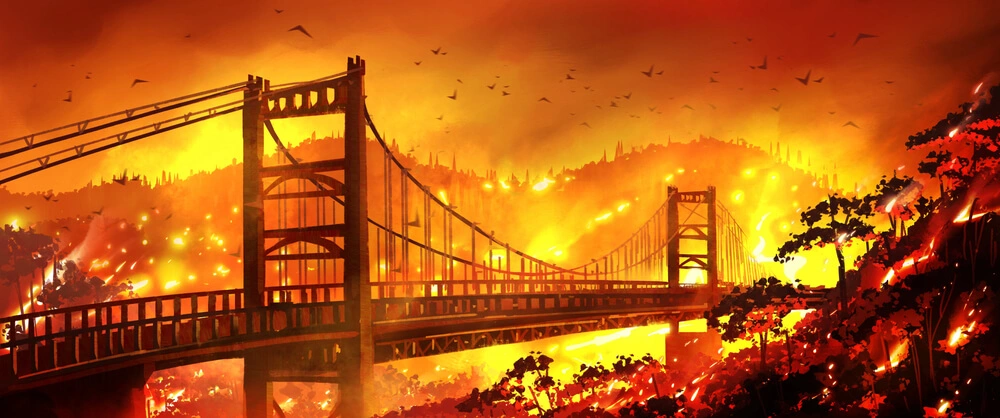
Use Color to Create Depth and Dimension
Another way to choose the right colors for your artwork is to use color to create depth and dimension. By using warm colors in the foreground and cool colors in the background, you can create the illusion of depth and make your artwork more dynamic. You can also use color to create highlights and shadows, which can add texture and dimension to your work.
Consider Your Personal Style
Finally, it’s important to consider your personal style when choosing colors for your artwork. Your personal style may dictate certain color preferences or combinations. Don’t be afraid to experiment with different colors and find what works best for you and your artwork.
In summary,, choosing the right colors for your artwork is an important part of the creative process. By understanding color theory, considering your subject matter, experimenting with color schemes, using color to create depth and dimension, and considering your personal style, you can create stunning works of art that are both visually appealing and emotionally impactful.
Creating a Flicker Effect
Creating a flicker effect in your artwork can add a sense of movement and excitement. Whether you’re painting a fire, a candle, or even a movie projector, a flicker effect can make your work more dynamic and engaging. In this article, I’ll explore some tips and techniques for creating a flicker effect in your artwork.
Understand the Physics of Flickering
Before you start painting, it’s important to have a basic understanding of the physics of flickering. Flickering occurs when the light source changes rapidly in intensity or color. This can happen naturally, such as with a fire, or artificially, such as with a strobe light. When a light source flickers, it creates a sense of movement and instability. By understanding how flickering works, you can create a more realistic and effective flicker effect in your artwork.
Create a Base Layer
To create a flicker effect, you’ll need to start with a base layer. This layer will serve as the foundation for your flicker effect. Depending on what you’re painting, your base layer could be a solid color, a gradient, or a more complex texture. Once you have your base layer in place, you can start adding the flicker effect on top.
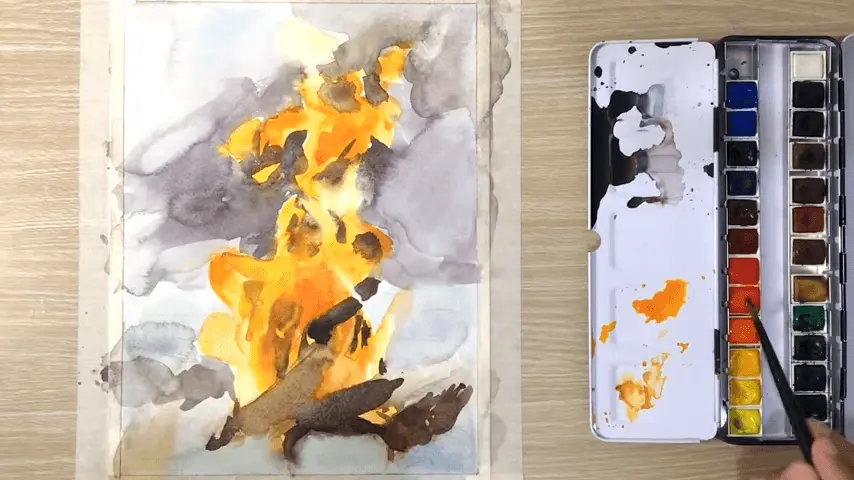
Add the Flicker Effect
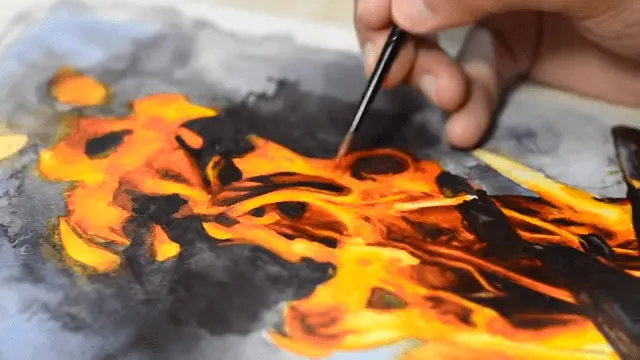
To create the flicker effect, you’ll need to vary the intensity or color of your light source. For example, if you’re painting a fire, you might start by painting the flames in bright yellow or orange. Then, using a smaller brush, you can add flickers of red or white to simulate the changing intensity of the flames. The key is to create a sense of randomness and irregularity, as this is what makes a flicker effect feel natural.
Experiment with Layering and Blending
Another way to create a flicker effect is to experiment with layering and blending. By using different layers and blending modes, you can create a more complex and dynamic flicker effect. For example, you might create a base layer of flames in yellow, then add a layer of red flickers on top. Using a blending mode such as overlay or soft light, you can blend the two layers together to create a more realistic flicker effect.
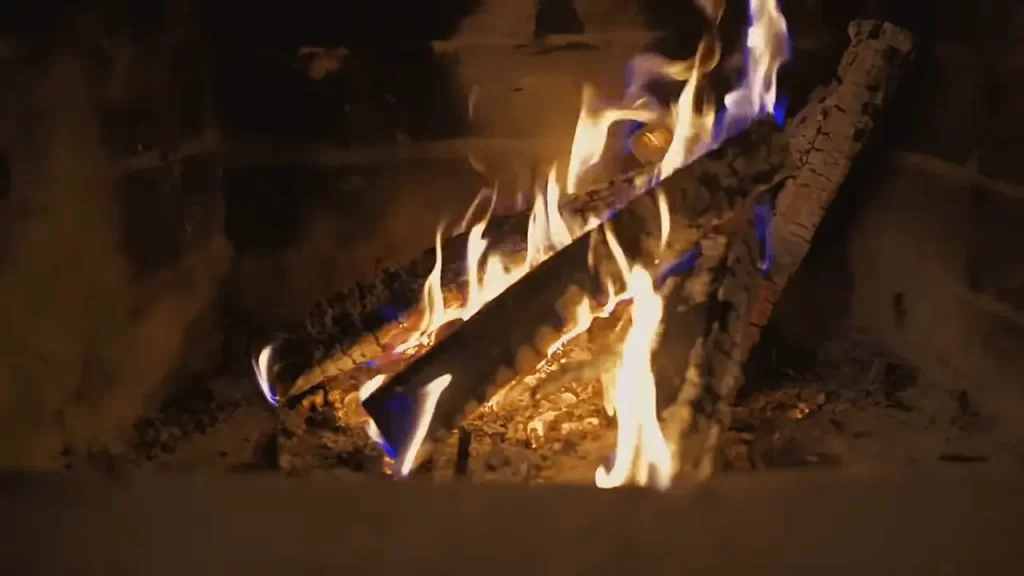
Use Reference Images
Finally, it’s important to use reference images when creating a flicker effect. By studying how light sources flicker in real life, you can create a more convincing and effective flicker effect in your artwork. Look for reference images of fires, candles, and other flickering light sources, and use them as a guide for your own work.
Adding Depth and Texture
Adding depth and texture to your artwork can take it to the next level. By creating the illusion of three-dimensionality and tactile surfaces, you can make your work more visually interesting and engaging. In this article, I’ll explore some tips and techniques for adding depth and texture to your artwork.
Understand the Basics of Depth and Texture
Before you start adding depth and texture, it’s important to understand the basics of these concepts. Depth refers to the illusion of three-dimensionality in your artwork. This can be achieved through techniques such as shading, perspective, and overlapping. Texture refers to the tactile quality of surfaces in your artwork. This can be achieved through techniques such as brush strokes, stippling, and cross-hatching.
Create a Base Layer
To add depth and texture to your artwork, you’ll need to start with a base layer. This layer will serve as the foundation for your work. Depending on what you’re painting, your base layer could be a solid color, a gradient, or a more complex texture. Once you have your base layer in place, you can start adding depth and texture on top.
Add Shading and Highlights
One way to add depth to your artwork is to use shading and highlights. By adding darker areas and lighter areas to your work, you can create the illusion of three-dimensionality. For example, if you’re painting a face, you might add shading to the cheekbones and jawline to create the illusion of depth. Similarly, by adding highlights to the nose and forehead, you can create the illusion of light hitting the face from above.

Experiment with Texture Techniques
To add texture to your artwork, you’ll need to experiment with different techniques. In my experience, this could include using a dry brush to create a rough surface or using stippling to create a dotted texture. You can also experiment with different brushes and painting tools to create unique textures. For example, using a sponge can create a mottled texture, while using a palette knife can create a more impasto texture.
Layer Your Textures
Another way to add depth and texture is to layer your textures. By using different layers and blending modes, you can create a more complex and dynamic surface. For example, you might create a base layer of rough texture using a dry brush, then add a layer of fine texture using stippling. Using a blending mode such as overlay or soft light, you can blend the two layers to create a more interesting and varied texture.
Tools for Painting Fire
Painting fire can be a challenging task, but having the right tools can make it much easier. In this article, I’ll explore some of the best tools for painting fire and how to use them effectively.
i. Brushes
The first tool you’ll need for painting fire is a set of brushes. Specifically, you’ll want to look for brushes with stiff bristles that can create rough, jagged strokes. You can use a range of brush sizes to create different effects, from broad strokes for larger flames to smaller strokes for detailing.

ii. Palette Knife
A palette knife is another useful tool for painting fire. You can use the flat edge of the knife to create sharp edges and angles in your flames or use the pointed tip to create fine lines and details. The palette knife can also be used to mix colors and create interesting texture effects.

iii. Spray Bottle
A spray bottle filled with water can be a useful tool for painting fire. By lightly misting your paint with water, you can create a more fluid and organic look to your flames. You can also use the spray bottle to create splatter effects or to dilute your paint for a lighter, more transparent effect.

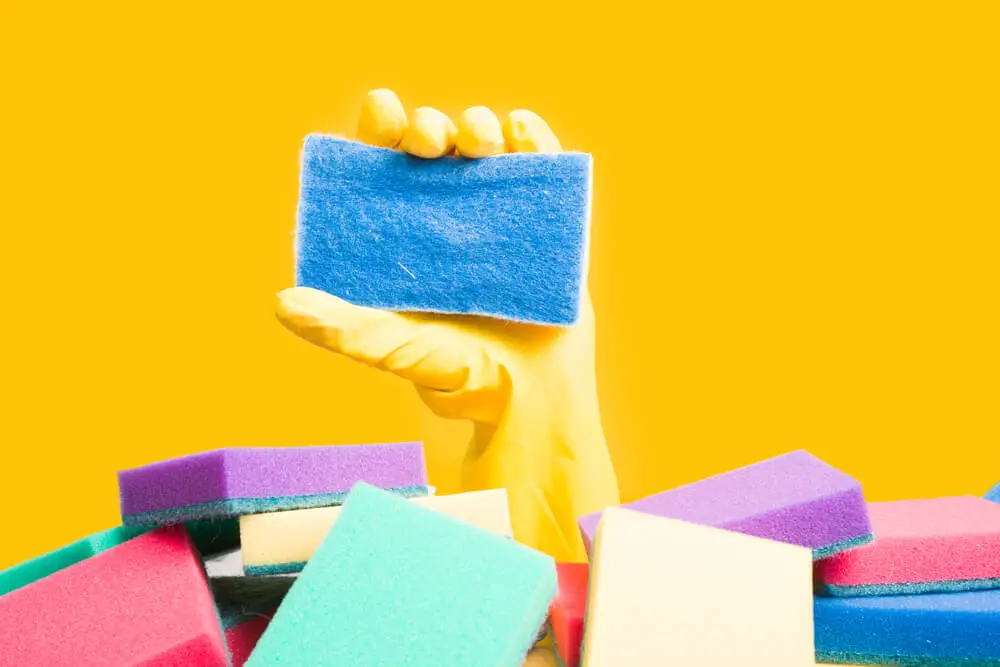
iv. Sponges
Sponges can be used to create interesting texture effects in your flames. Simply dip the sponge in your paint and dab it onto your canvas to create a mottled or stippled effect. You can also use a sponge to blend colors or to create a softer, more diffuse edge to your flames.
v. Airbrush
An airbrush can be a powerful tool for creating realistic flames in your artwork. With an airbrush, you can create smooth gradients of color and create soft, subtle edges to your flames. You can also use the airbrush to create a sense of motion or to create a glowing effect around your flames.

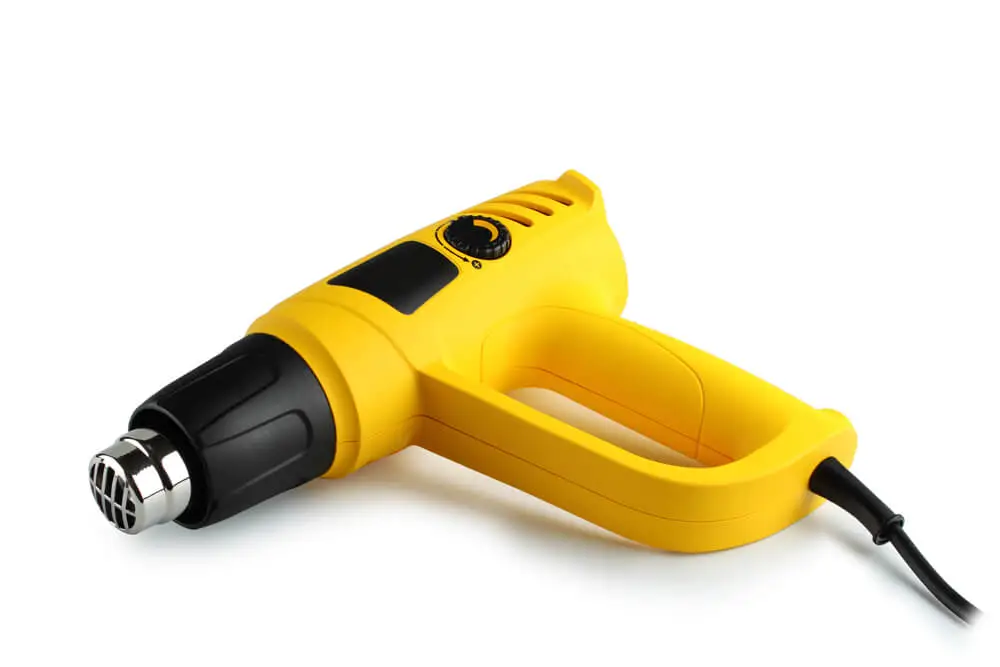
vi. Heat Gun
A heat gun can be used to create interesting effects in your flames. By holding the heat gun over your paint, you can create bubbles and blisters in the surface of the paint, which can create the illusion of flames flickering and dancing. However, it’s important to use caution when using a heat gun, as it can be a fire hazard if used improperly.
In short, there are many tools that can be useful for painting fire, from brushes and palette knives to spray bottles and sponges. By experimenting with different tools and techniques, you can create realistic and dynamic flames that bring your artwork to life. Just remember to use caution when using heat guns or other potentially dangerous tools, and always work in a well-ventilated space.
Common Mistakes to Avoid
When painting fire, there are a few common mistakes that artists should be aware of in order to avoid them. One of the most common mistakes is using too much paint, which can make the flames look overly thick and heavy. Another mistake is over blending colors, which can create a muddy or dull effect instead of the vibrant, dynamic look of real flames.
Finally, it’s important not to ignore the importance of reference images when painting fire. Without reference images, it can be difficult to create accurate and realistic flames, so be sure to gather plenty of reference images before getting started. By being mindful of these common mistakes, artists can create beautiful and compelling fire paintings that truly capture the essence of this elemental force.
Frequently Asked Questions – How to Paint Fire:
Conclusion:
Painting fire requires patience, practice, and the right techniques. By understanding the basics of fire, using the right materials and tools, and experimenting with different techniques, you can create a realistic and stunning fire effect in your artwork. Remember to use reference images, sketch the flames before painting, and be patient with the process. With these tips, tricks, and tools, you’ll be able to paint fire with confidence and skill.