
How to Paint Cheetah Print – A Wild and Creative Guide 2024
Are you looking to add some wild and exotic flair to your home decor or wardrobe? Look no further than the timeless and classic cheetah print. While buying cheetah print items may be easy, creating your custom cheetah print can be even more satisfying and rewarding. With a few basic tools and some patience, you can learn how to paint cheetah print on any surface, from walls to furniture to clothing.
In this detailed article, I’ll take you through the step-by-step on How to paint cheetah print, including tips, tricks, and techniques to ensure a realistic and stunning result. So, let’s get started!
Materials You’ll Need:
Before you start painting cheetah print, you’ll need to gather some basic materials. Here’s what you’ll need:
Paint:
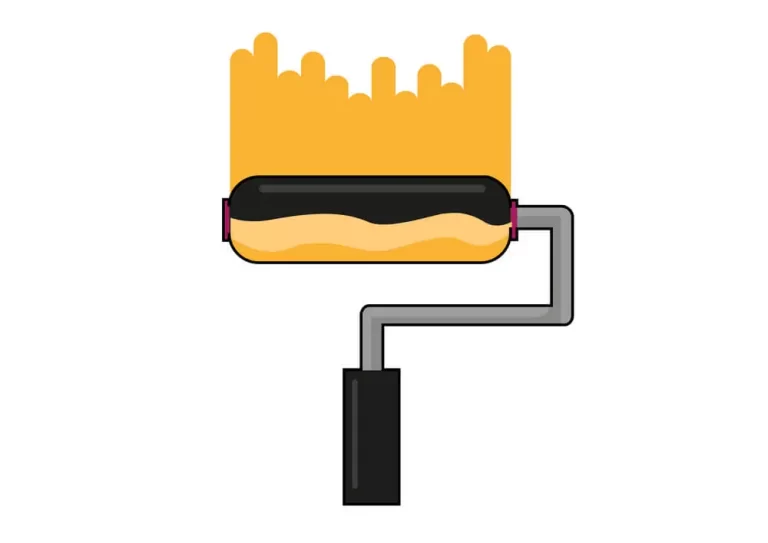
You’ll need a base coat paint in the color of your choice, as well as black and brown paint for the spots. Make sure to choose a paint that is suitable for the surface you’ll be painting on.
Paintbrushes:
You’ll need a variety of paintbrushes in different sizes, including small brushes for the spots and larger brushes for the base coat.
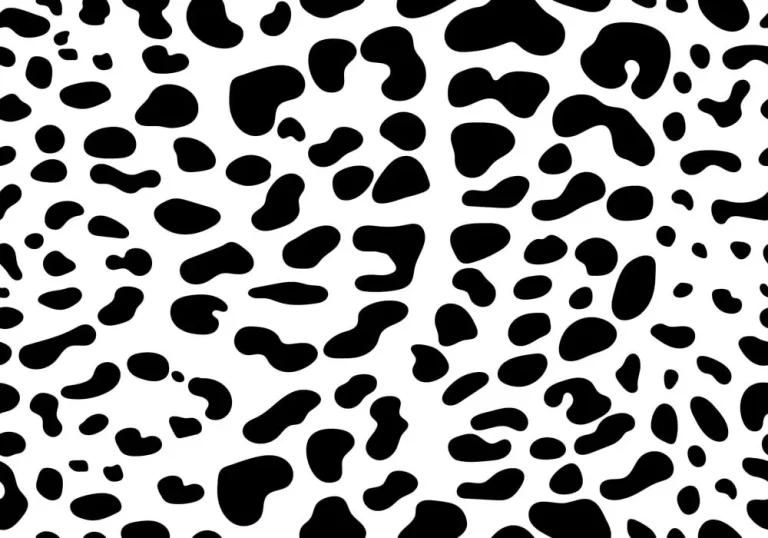
Stencil:
You’ll need a cheetah print stencil. You can purchase one at a craft store or make your own using cardboard or plastic.

Painter’s tape:
You’ll need painter’s tape to secure the stencil to the surface and prevent the paint from bleeding.
Drop cloth:
You’ll need a drop cloth or old sheet to protect your work surface from paint spills and drips.
Paper towels:
You’ll need paper towels or a rag to clean up any spills or mistakes.
Clear sealant:
You’ll need a clear sealant to protect the paint from chipping, fading, and wear over time.
Optional:
If you’re painting on a large surface, you may want to use a paint roller or spray paint to cover the area more quickly and evenly. Additionally, you may want to use a hairdryer to speed up the drying process between coats.
Make sure to gather all of your materials before you begin painting to ensure a smooth and stress-free process.
Step 1: Gather Your Materials
To start painting cheetah prints, you’ll need a few essential materials. Here’s what you’ll need:
- Base coat paint (in the color of your choice)
- Cheetah print stencil (you can purchase pre-made stencils or create your own)
- Stencil adhesive spray
- Paintbrushes (a flat brush and a small round brush)
- Acrylic paints in various shades (typically black, brown, and gold)
- Paint palette
- Paper towels
- Painter’s tape (optional)
Step 2: Prepare Your Surface
In my experience, Before you begin painting cheetah print, it’s important to properly prepare the surface you’ll be painting on. This will ensure that the paint adheres properly and the finished product looks smooth and even. Here are the steps to follow when preparing the surface:
Clean the surface:
Use a damp cloth or sponge to clean the surface of any dirt, dust, or debris. If the surface is particularly dirty, you may need to use a mild soap or cleaning solution.
Sand the surface:
Use sandpaper to lightly sand the surface. This will help the paint adhere better and create a smoother finish. Make sure to wipe away any dust created by sanding with a clean cloth or paper towel.
Prime the surface:
If you’re painting on a surface that has never been painted before, you’ll need to prime it first. Use a paintbrush or roller to apply a coat of primer to the surface. Allow the primer to dry completely before moving on to the next step.
Apply the base coat:
Once the primer is dry, apply a coat of base coat paint in the color of your choice. Use a paintbrush or roller to apply the paint evenly, making sure to cover the entire surface. Allow the paint to dry completely before moving on to the next step.
Tape off any areas you don’t want painted:
Use painter’s tape to cover any areas you don’t want painted, such as trim, windows, or hardware. Make sure the tape is applied evenly and securely to prevent any paint from bleeding through.
Secure the stencil:
Use painter’s tape to secure the cheetah print stencil to the surface. Make sure the stencil is aligned correctly and securely in place.
Apply the spots:
Use a small paintbrush to apply black and brown spots to the surface. Start with small spots and gradually increase the size as you go. Make sure to follow the stencil and space the spots evenly.
By properly preparing the surface, you’ll ensure that your cheetah print looks professional and lasts for a long time. Take your time and follow each step carefully to achieve the best results.
Step 3: Apply the Cheetah Print Stencil
Once your base coat is dry, it’s time to apply the cheetah print stencil. Start by positioning the stencil on your surface and securing it with painter’s tape, if necessary. Then, apply stencil adhesive spray to the back of the stencil and press it firmly onto the surface. Make sure there are no bubbles or gaps between the stencil and the surface.
Step 4: Paint the Cheetah Print
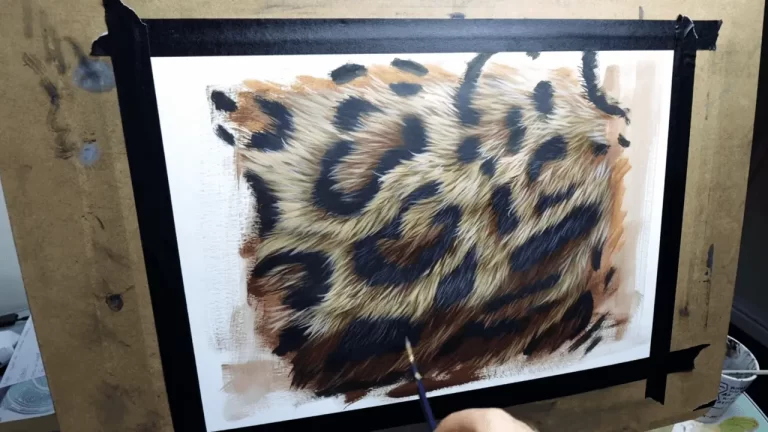
Now it’s time to paint the cheetah print! Start by choosing a color for the spots – typically black, brown, or gold. Dip your flat brush into the paint and dab off any excess on a paper towel. Then, gently dab the paint onto the stencil in a random pattern, making sure to cover all the spots. Use a smaller round brush to touch up any areas that need more detail.
Next, it’s time to paint the outlines of the spots. Choose a darker color, such as black or dark brown, and use your small round brush to carefully paint around the edges of each spot. This will create a more realistic and defined look. Don’t worry if your lines aren’t perfect – cheetah spots are supposed to be irregular and organic.
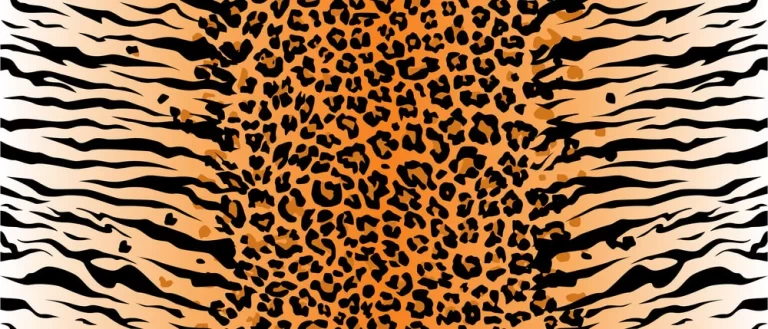
Finally, it’s time to add some depth and texture to the cheetah print. Choose a lighter color, such as gold or beige, and use your small round brush to add highlights and shading to the spots. This will create a more three-dimensional and lifelike effect.
Step 5: Remove the Stencil
Once you’ve finished painting the cheetah print, carefully remove the stencil while the paint is still wet. Peel it off slowly and gently, making sure not to smudge or smudge the paint. If any paint has seeped under the stencil, use a clean brush and a small amount of base coat paint to touch up any areas.
Step 6: Touch Up and Seal the Paint
After removing the stencil, take a step back and admire your work. If any areas need touch-ups, use a small brush and some base coat paint to carefully touch up any imperfections. Once you’re happy with the final result, let the paint dry completely.
Finally, seal the paint with a clear protective coat. This will help protect the paint from chipping, fading, and wear over time. Use a spray or brush-on sealant, following the manufacturer’s instructions. Make sure to apply the sealant in a well-ventilated area and let it dry completely before using or displaying the painted surface.
Tips and Tricks for Painting Cheetah Print
Let’s have a look at the Tips and Tricks for Painting Cheetah Print.
- Experiment with different color combinations for a unique and personalized look.
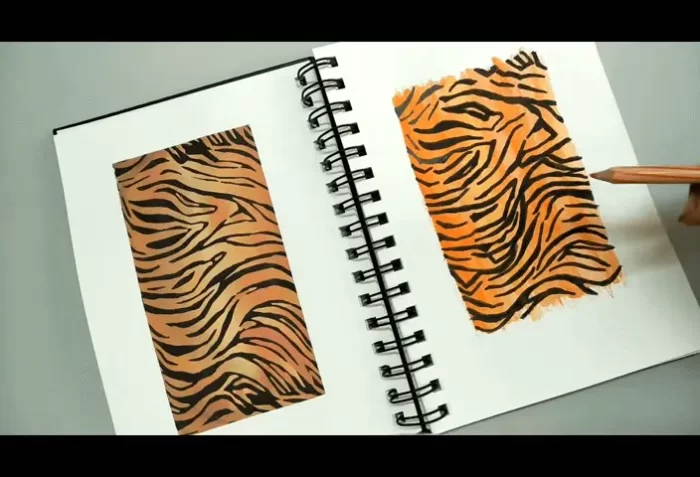
- Practice on a piece of paper or cardboard before painting on your final surface.
- Use a light touch when painting the spots to create a more natural and organic look.
- Don’t be afraid to add shading and highlights for a more three-dimensional effect.
- Use a stencil with different sized spots for a more realistic and varied cheetah print.
- Make sure to clean your brushes and stencils thoroughly after use to prolong their lifespan.