
Can You Put Oil Based Paint Over Latex 2024 Guide
“Can You Put Oil Based Paint Over Latex?” is a frequently asked question. Both of these, the latest and oil-based paints, have advantages and features. Still, people want to paint latex-based pain over oil or vice versa. Oil-based paint is good because of its durability and many other features. However, latex-based color is good for the shining texture.
In this post, I provide a complete guide on using oil-based paint over latex. Overall, the process is easy, but some facts and predatory steps are necessary to keep in mind.
On the other hand, oil-based paint has several advantages that may lead you to choose it for a future job.
Can You Put Oil-Based Paint Over Latex?
People wonder, “Can you put oil-based paint over latex?” Latex-based paint is more flexible than oil-based paint. At the same time, oil-based paint is much harder. So overall, both of these paints are not good to go in a similar place. Moreover, both have different colors. But if you follow the preparation steps below, you will get outstanding results.
So, yes, you can use oil-based paint over latex only if following the preparation steps. Without following these steps, there are high risks of adhesion or the colors on the surface.
Furthermore, the borders of oil-based paint may begin to lift, causing peeling. People making this mistake will immediately notice the peeling off paint. This only happens if you don’t follow the steps gradually.
This peeling can result in ugly lines on the wall or furniture and expose the latex paint below. Sanding the walls before applying latex paint over oil-based paint enhances adherence.
Results of Applying a Latex Paint on Oil-Based Painted Surfaces
What happens if you paint oil over latex? Elastic latex and brittle oil-based paint may cause the painted surface to split and ultimately shatter. Although you may add oil-based primer to latex paint, it will eventually degrade the surface. Latex paint tends to be more elastic than oil-based paint, which is more brittle.
Applying oil-based paint over latex without the correct preparations might cause problems. If you have binding troubles, you may have splitting and cracking. It usually takes some time for the issue to become apparent. Peeling can occur as breaks or fractures spread.
Depending on the object, you may notice faults more quickly on furniture. Items that are shifted and used frequently, such as dining chairs, are more likely to split. You may obtain the same number of years from fixing things that aren’t often touched as you would from a wall.
In my experience, Preparing the latex paint correctly is the only solution to avoid these issues. While these stages are time-consuming, they guarantee that the oil-based paint adheres effectively. It will also prevent future splitting, breaking, and peeling issues. The ultimate results lead to increasing the durability of the paint.
Steps Involved in Applying Oil-Based Paint Over Latex
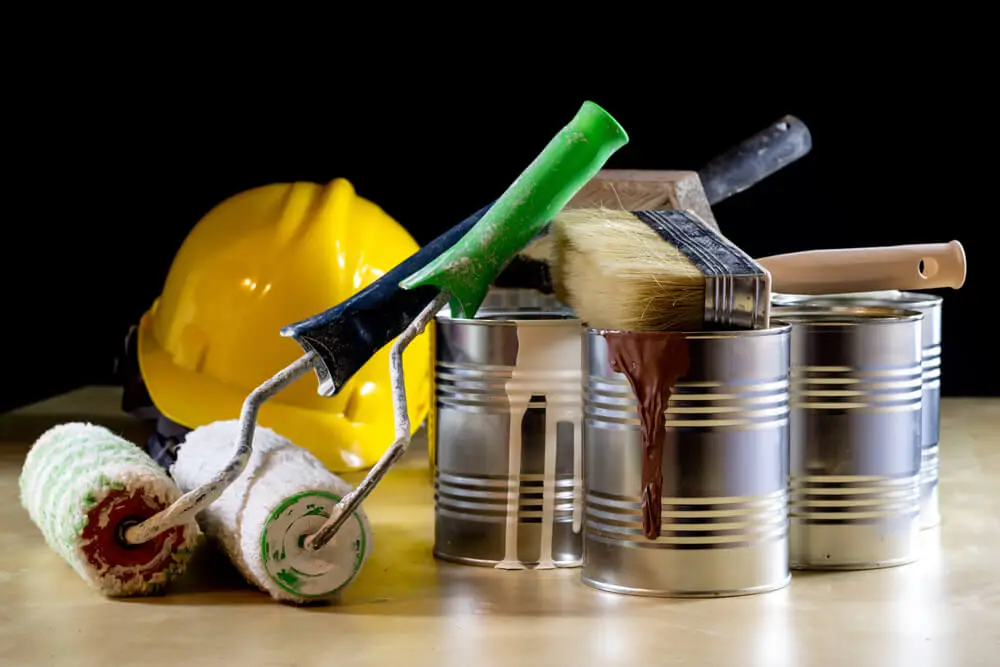
Firstly, surface preparation before painting is essential if you want the best possible results. This preparation ensures that the paint adheres properly. Below are some essential steps to apply latex-based paint over oil paint.
1. Start Sanding – 1st Stage of Sanding
Sanding the surface is an essential step everyone must follow. Multiple sandpapers are available in the market, and you can use them according to the surface area where you will apply the paint and the price.
While using the sandpaper, ensure you are putting enough pressure, which is not valuable for the surface. Also, don’t apply high pressure, which may cause serious adhesion issues and the chance it would be not easy to remove the paint later upon need.
Instead, apply the optimum amount of pressure. You can ask for recommendations from the experts and professionals near you.
Note: If you face any issues while applying the sandpaper, feel free to ask us anytime.
2. Use A Higher Grit Paper For More Sanding- 2nd Stage of Sanding
In the second stage of sanding the surface, you need to use a finer type of sandpaper, i.e., 150-grit sandpaper. Following this stage helps gain an even perfect surface ready for applying the paint.
Also, keep in mind that sanding the surface from any angle or side would be risky when it comes to knowing about getting the finest and even surface. Therefore, I recommend starting the sanding process from the upper right corner and then sanding the surface downward. Repeat the same process for the whole surface.
Sanding the surface in this way is helpful for even characters and removing flaws. Once you apply the sandpaper for 2nd time, allow the surface to dry and proceed towards the next step.
3. Clean Your Surface
Cleaning the surface with a soft cotton cloth or any other smooth item is 3rd essential step in preparing the surface to apply latex-based paint over an oil-based surface. Don’t use the fabric directly on the surface; rinse it with water or apply any moisturizer.
Whip away the surface for 5-10 minutes until all the dust particles are removed, and the surface is dried thoroughly. You can also use a second piece of smooth cloth to make the surface dry accurately.
4. Pre-Steps For Applying Primer
Before applying the primer, it is necessary to follow the required precautions. Covering the areas where you don’t want to use the paint is the first preventive measure you should follow.
Use painter’s tape on the margins to avoid spillage if you’re preparing one wall but want to leave an adjacent fence alone. You can use video to fix a plastic cover or cover over the portions you don’t want to paint.
You should also use a drop cloth if you want to recoat your furniture. It will catch dripping, making painting low portions of furniture less dangerous to your flooring, even if you do not lift the piece.
Using painter’s tape to partly repaint a piece of furniture is a great idea. Make careful you use the correct video for the base material.
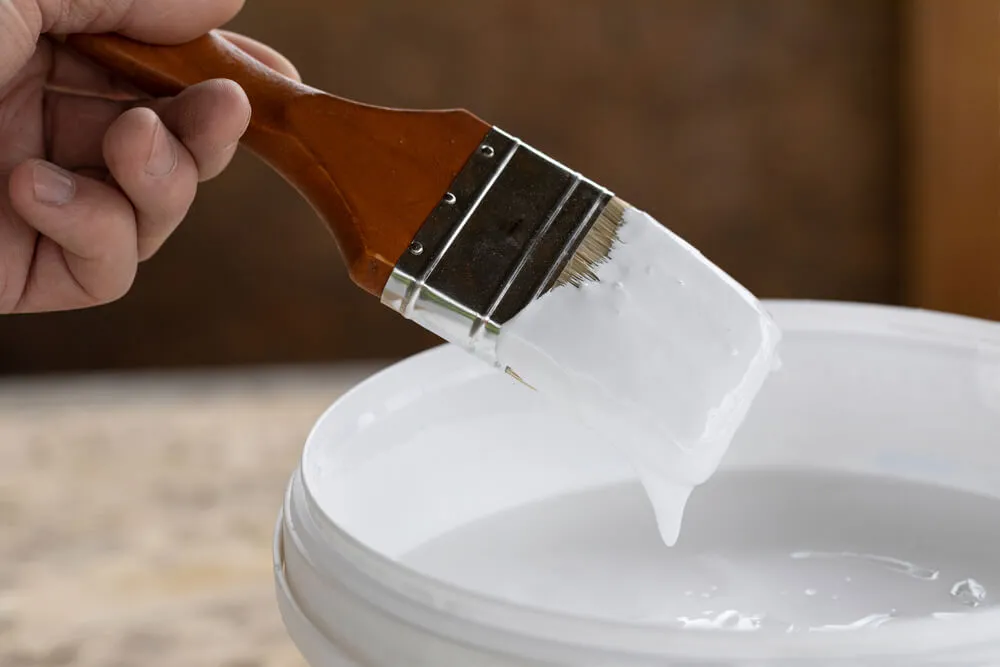
5. Apply Primer
Selecting the correct type of prime according to the nature of the paint is more important. Once you have chosen the primer, apply it on the surface carefully. It should stick on the surface for a long time. You can use 2 coats of the primer for better results.
Also, ensure that you select the latest primer type instead of the old version. It would help in getting durable and shiny painting results.
6. Wait for the Primer to Dry Completely
Right after you have applied the primer, don’t go into a rush to apply the paint. Instead, wait for some time to completely dry the primer. The benefit of drying up the primer is that your oil-based paint is straightforward to adhere to the surface of the place where you want to put color.
You can also apply a second primer layer when you feel the old primer is not good enough. In this case, again, you need to wait to dry the second layer of primer completely.
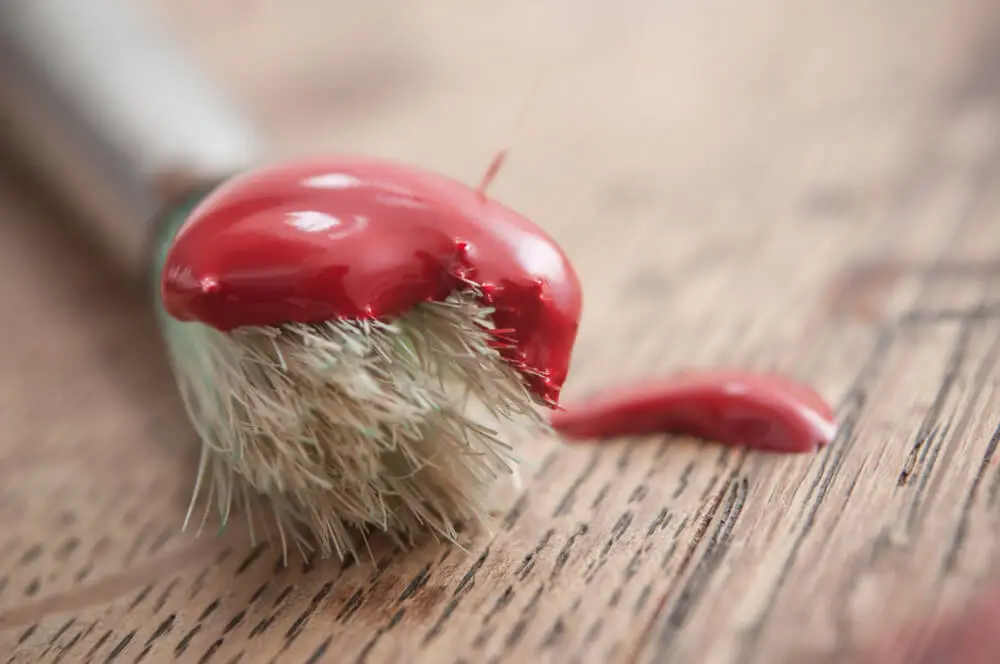
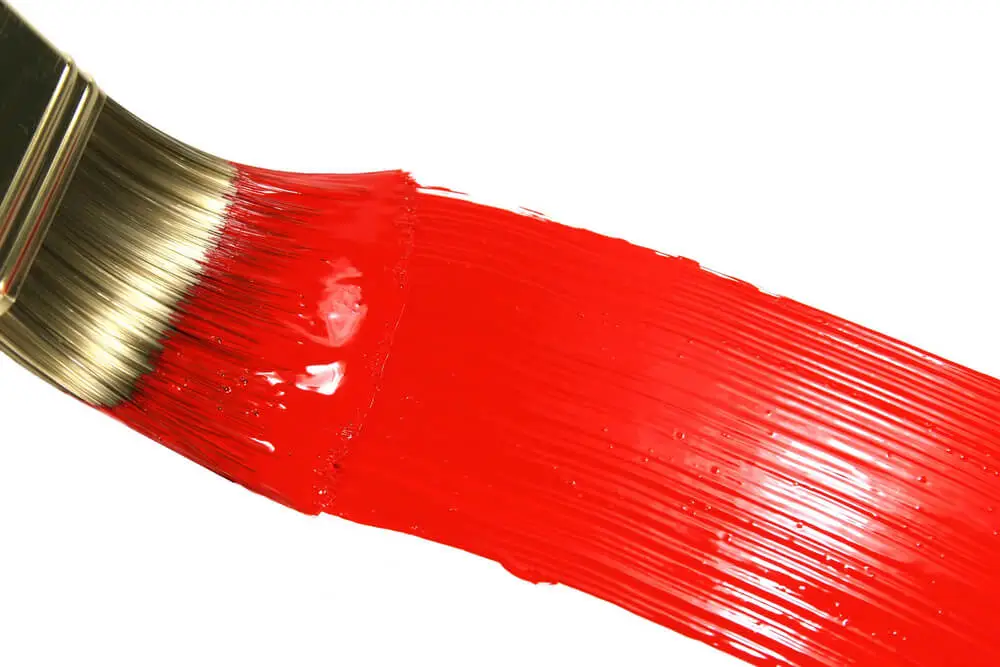
7. Applying Oil Based Paint
The next step, which most essential, is to apply an oil-based paint over the latex. Just make sure that the primer layer is dried. While using the color, the main focus should be to keep the paint evenly over the whole surface.
Maintaining the finish, even for high-quality paint, is the main priority. You can also apply a second layer of paint if you think the first one is not enough. In this case, wait until the first paint layer is dried.
8. Remove Tape
Remove any tape you have added in the previous steps. People use tape on those areas of the latex where they don’t want to apply the oil-based paint. Some people just like that the primary surface of the latex should not be painted well but should have damps. Use tape on those areas and then remove it after applying the paint layers to the required areas.
How Can I Know Where the Paint is Oil Based?
Have you ever bought the paint without knowing its type and wanted to see if it’s oil-based or water-based? Here are some options that can help you know if the paint is oil-based.
Method #1: Checking Old Cans
The first and most important thing is checking the old cans. Just check out the cans and see their labels. There it’s correctly mentioned about the oil or water-based paint. Now the question is, what if you have thrown those cans? In this case, you can check your dustbins and garbage places to see if the cans are still there. If this technique does not work, don’t worry; I have mentioned some other solid points.
Method #2: Rubbing Alcohol Test
Rubbing alcohol test is another meaningful way for those unable to check it by the can. For this purpose, first of all, check that area with some spots, and I suggest finding a location where using some alcohol does not impact the beauty of the whole place. Now wash that area using water and soap. Now take a cotton piece and soak it in alcohol. Directly rub the cleaned area with that alcohol.
Note: If your cotton piece gets spots, the paint is water-based or latex-based. And if there are no spots, the color is oil-based.Method #3: Acetone Test
The acetone test is very similar to the alcohol test. The only difference is that you are using acetone instead of alcohol.
Wash the painted area with water and mild soap. Now take a piece of cloth and soak it in acetone solution. Rub with the fabric on the site that you washed and see the following observations:
Note: If the cloth remains similar and unaffected, the paint on your wall is oil-based. On the other hand, if it gets spots or color, the paint is water-based or latex-based.Method #4: Nail Polish Remover Test
Using a nail polish remover is very similar to the above two methods. Wash the area where you think removing some paint does not affect much. Wash the area with soap and water. Now take a cotton piece and dip it in the nail polish remover. Directly rub the site that you washed with soap and water. See if the cotton cloth gets stains or not. The oil is water- or latex-based if it gets stains or paint spots. If it does not earn any paint spots, the paint is oil-based.
Method #5: Latex Paint Test
Testing latex paint on the wall is another meaningful way to check if the paint is oil-based. For this purpose, paint some wall areas and then leave them for some time. After that, rub the latex paint with fingernails or any other utensil. If the latex paint is removed quickly, it means the paint is oil-based. And if it does not remove easily, it means the paint is water-based or latex-based.

Apply Oil-Based Paint Over Latex- Frequently Asked Questions
Wrapping Up- Can You Put Oil-Based Paint Over Latex
Hopefully, now you understand enough about Can You Put Oil Based Paint Over Latex. Before applying the latex-based paint, ensure that the surface or wall is prepared thoroughly.
Also, keep in mind that in this way, adhesion works well if you design the wall and other necessary equipment for it.
For any other queries, feel free to contact us anytime. I am always here to answer your questions. Also, keep reading our latest blogs for more information and tips on painting ideas.